Loading... # 一、序言 笔者于2022年1月安装Apache和PHP,但是由于找到的教程是旧版本,安装过程中出现了很多问题,笔者一一解决了,现参考前辈的教程以及个人经验给出新的教程。版本**PHP_8.1.2**和**Apache 2.4.52 x64。** **参考:** [PHP安装配置(Windows和Linux)-一篇就够了 - 云+社区 - 腾讯云 (tencent.com)](https://cloud.tencent.com/developer/article/1705262?from=10680) [Apache安装配置(Windows和Linux)-有手就行_吴泽龙的博客-CSDN博客](https://blog.csdn.net/qq_45034708/article/details/108565486) [apache(OS 10013)以一种访问权限不允许的方式做了一个访问套接字的尝试 ..._yangshuolll的专栏-CSDN博客](https://blog.csdn.net/worldmakewayfordream/article/details/77878835) # 二、官网下载 ## 1. Apache下载 官网下载:[Apache Haus Downloads](https://www.apachehaus.com/cgi-bin/download.plx) 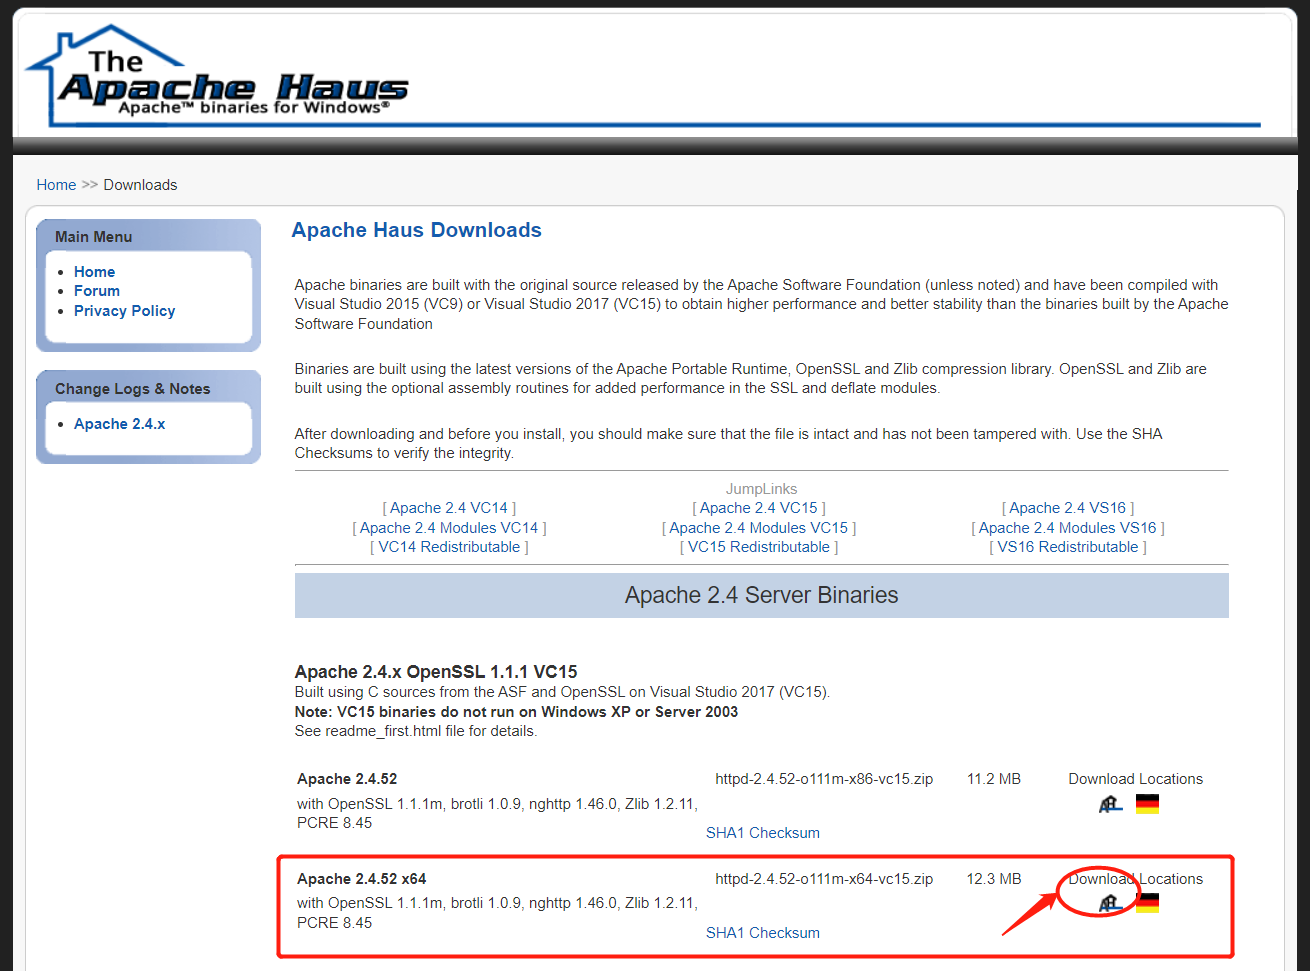 ## 2. PHP下载(下载线程安全版本) 官网:[PHP For Windows: Binaries and sources Releases](https://windows.php.net/download) **注意注意注意,如果按照笔者的教程,务必安装第二个版本,否则后续会出问题。** 可参考:https://cloud.tencent.com/developer/article/1196488 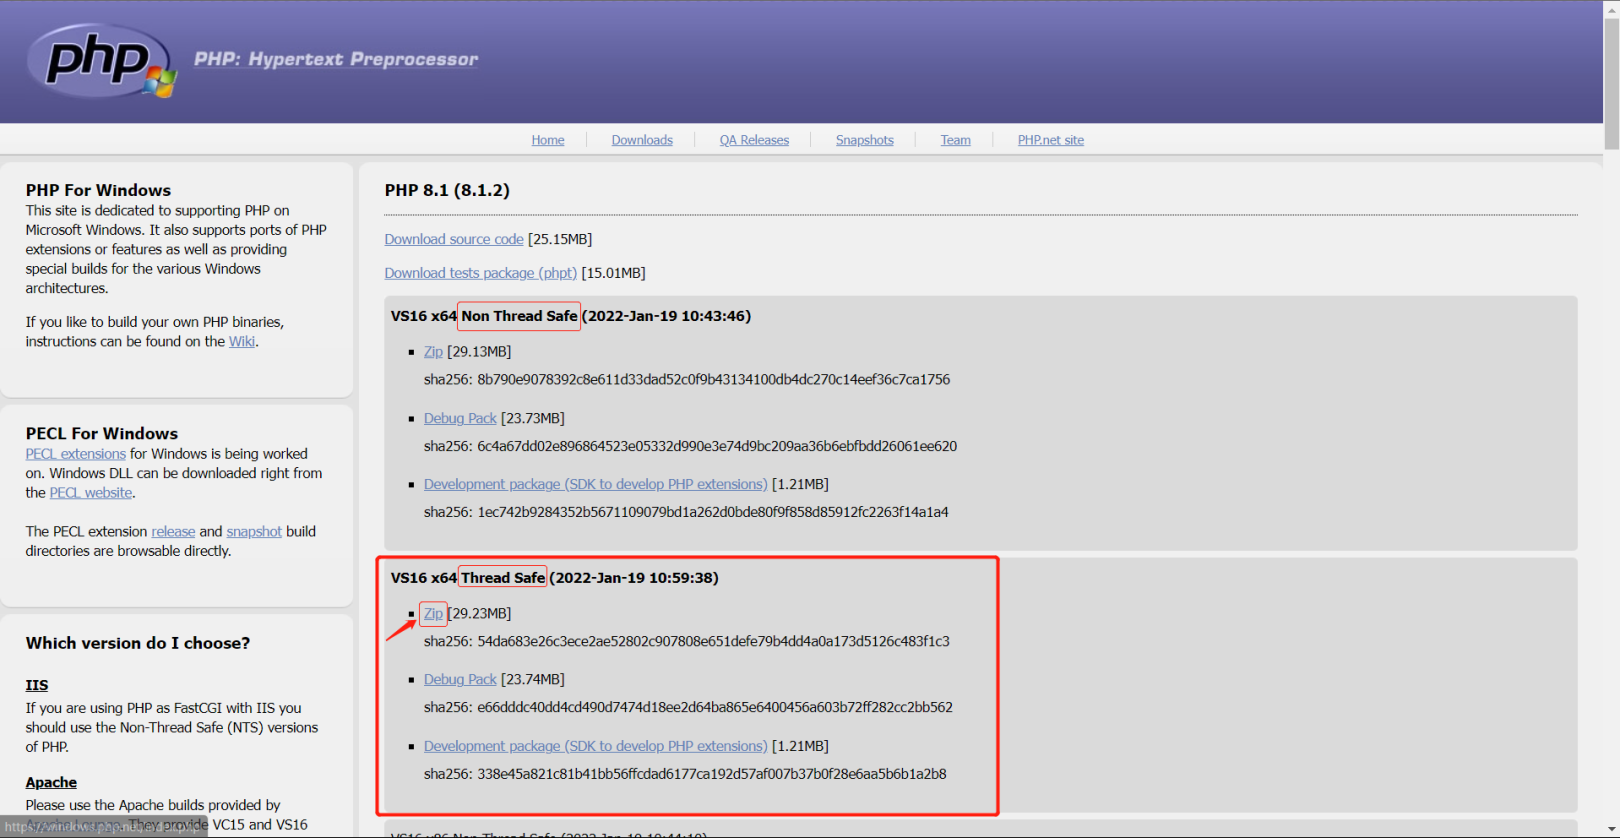 # **三、解压** 可以改成短一点的名字,比如我把php-8.1.2-Win32-vs16-x64改成了php8。 # 四、配置 ## 1. Apache配置 ### (1)打开httpd.conf,第39行,将原有的“Apache”改为Apache所在地址。 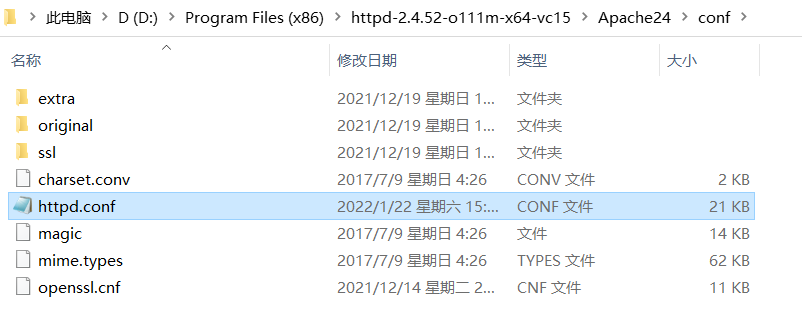 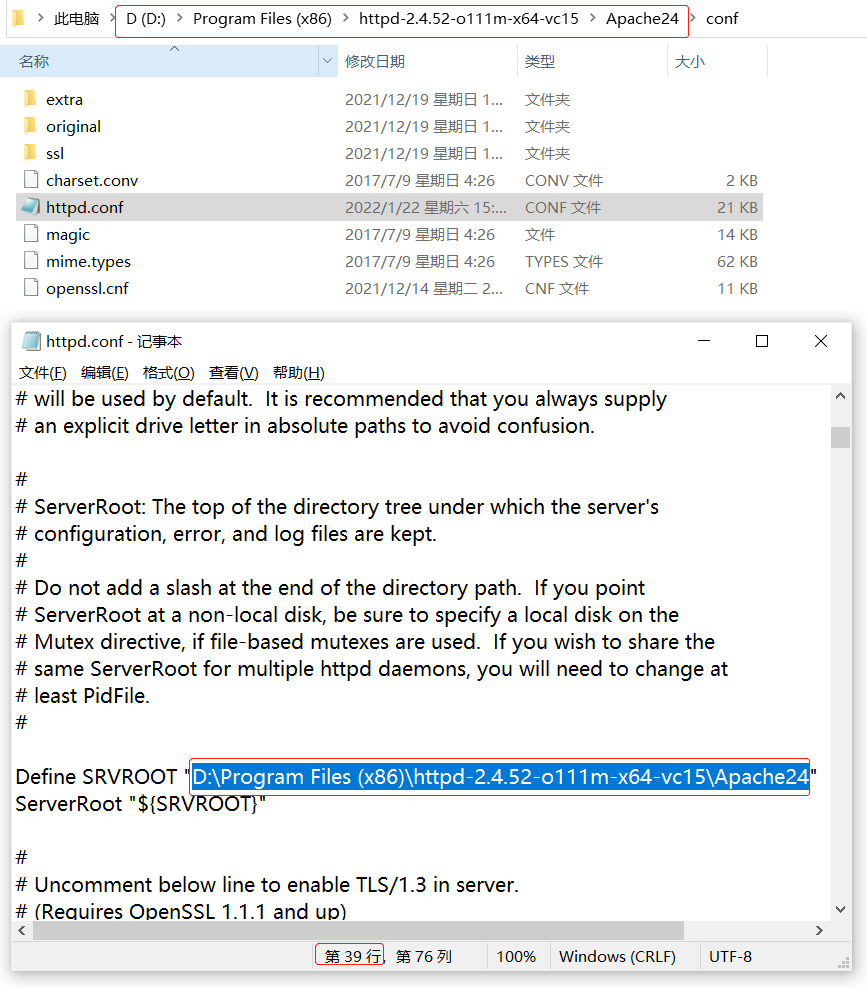 记住这个文件,后面配置会用到很多次。 ### (2)测试配置文件是否合法(可跳过) 在蓝色位置输入cmd,打开命令行窗口。 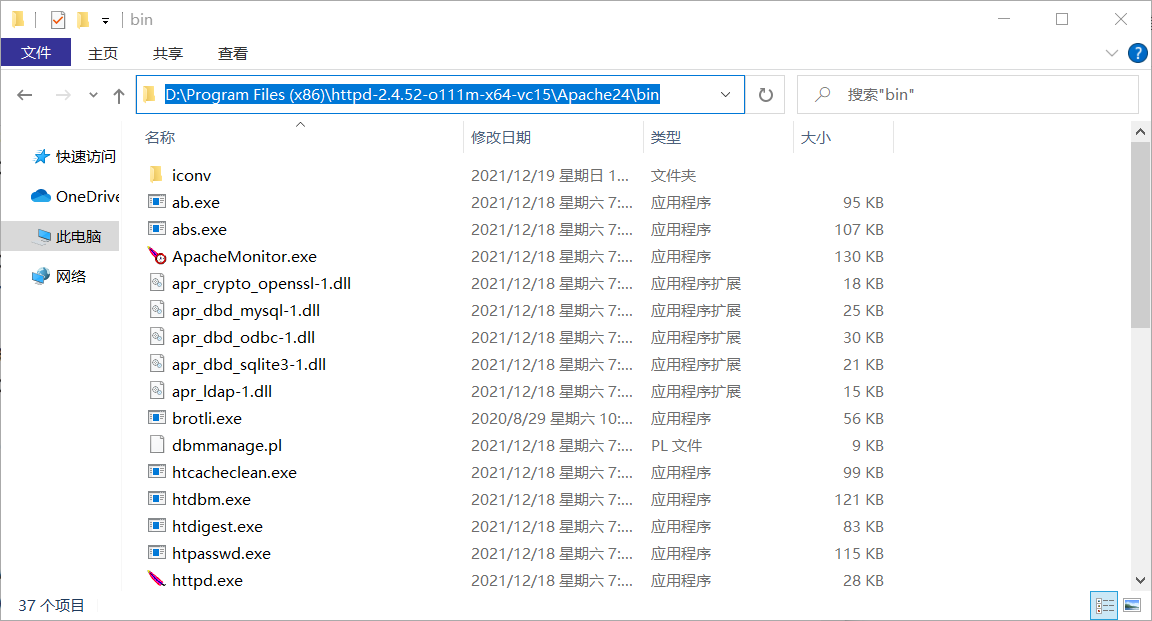 ```js httpd -t#测试配置文件是否合法 ``` 复制  如果出现Syntax OK,说明成功。 如果失败,返回上一步,检查修改地址的时候是不是出错了,比如复制粘贴的时候不小心把引号删掉了,或者忘记保存。 ### (3)安装Apache服务 ```js httpd -k install -n Apache2.4 #-n后面表示自定义访问名称 ``` 复制  还是上一步的地方打开cmd ### (4)启动服务 ①指令启动 ```js httpd -k start #启动 httpd -k stop #停止 ``` 复制  启动成功则进入下一步 **如果启动失败**  失败的情况 先解释一下为什么失败,配置文件默认端口是80,而你电脑里的80端口被占用了。 这时候要改一个端口,比如81,操作如下: 打开httpd.conf,CTRL+F查找,把80换成81,会有三处。 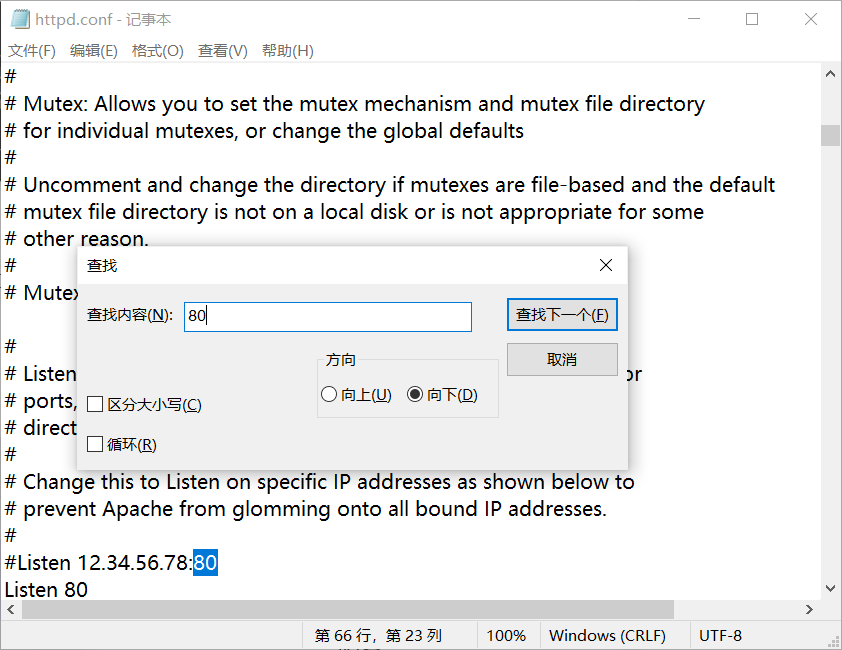 把80换成81 ②手动打开 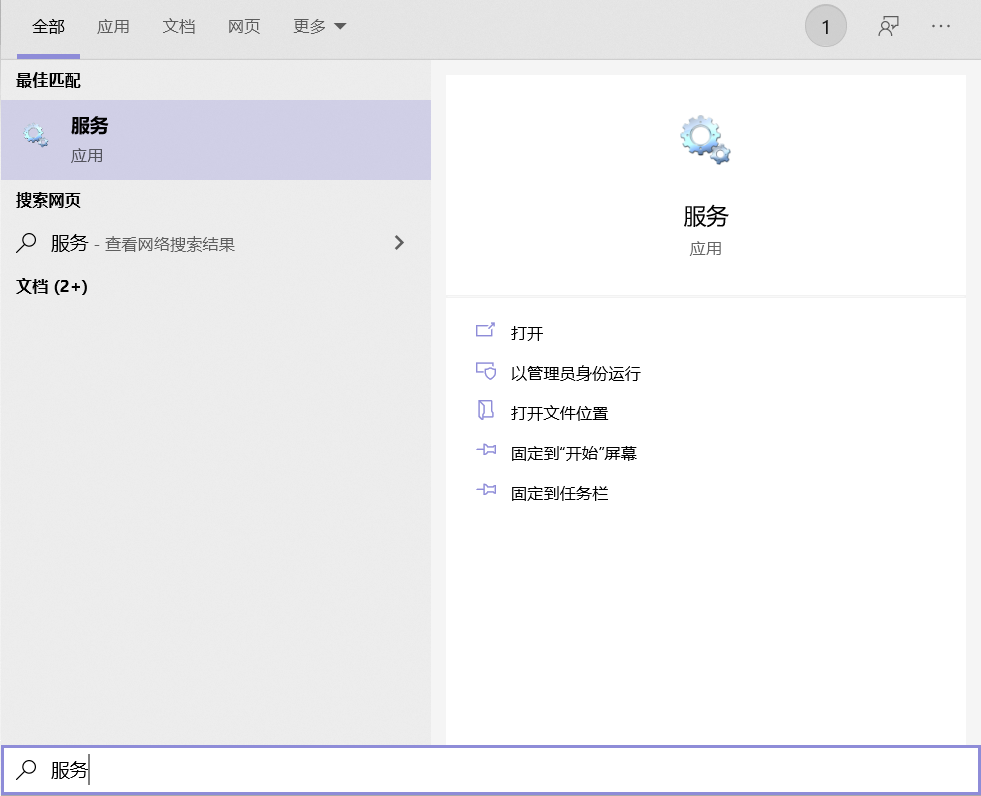 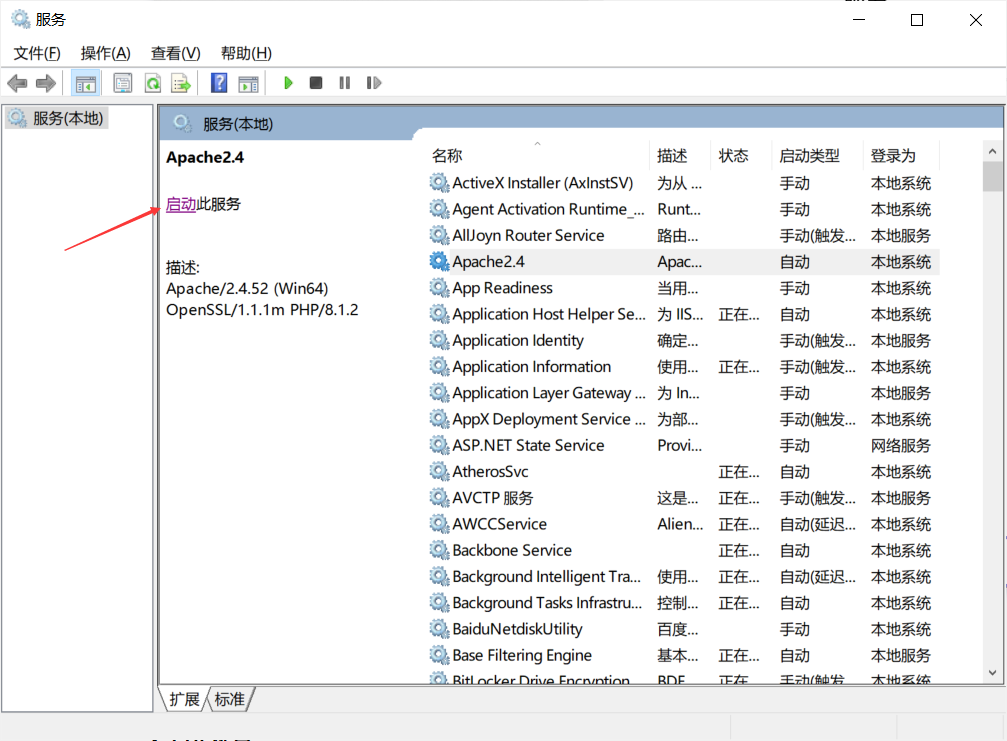 ### (5)测试 常规测试方法:在浏览器访问[http://localhost](http://localhost/)(没有改端口是成功的,跳过下面就好。) 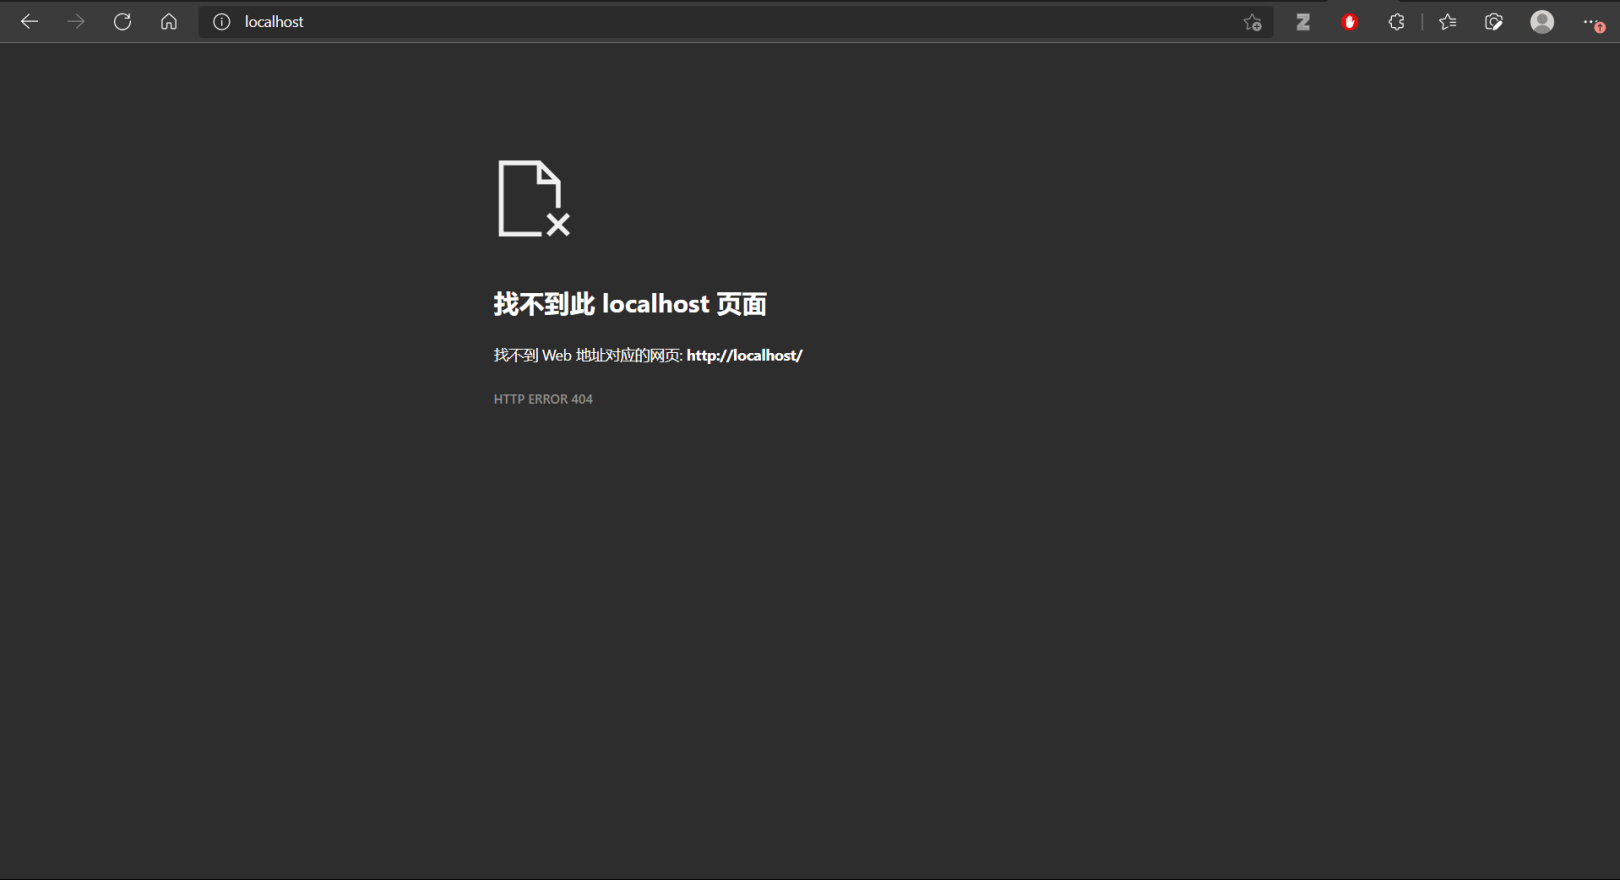 但是失败了,为什么呢? 因为上面把端口改了,这里在浏览器输入localhost:81。 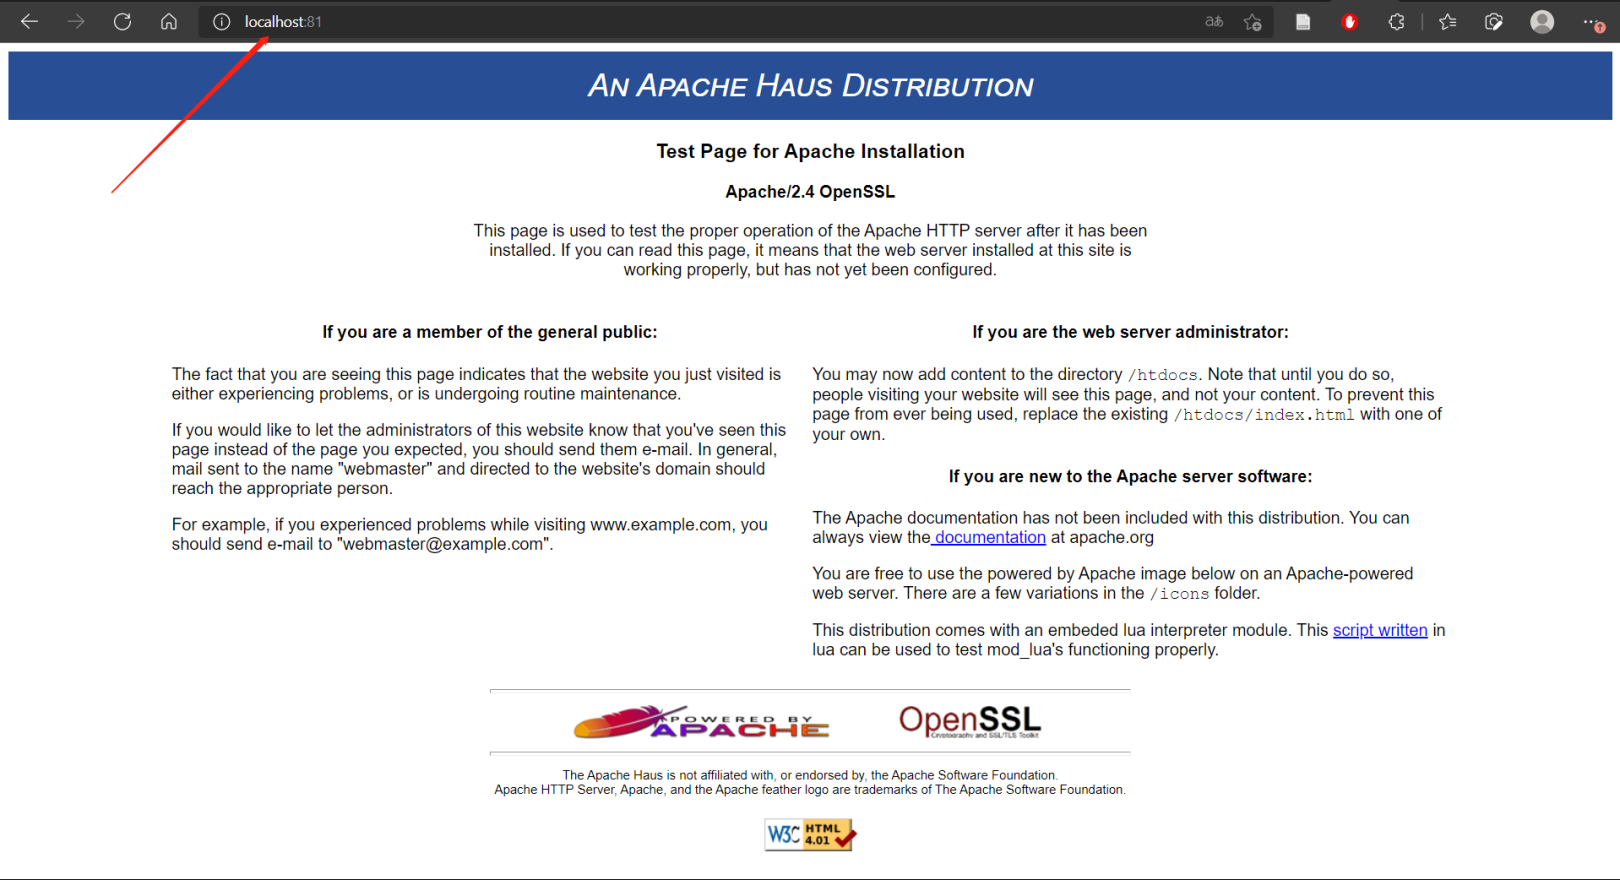 这样就成功了 **至此Apache就配置成功了** ## 2. PHP配置 ### (1)打开httpd.conf 复制下段代码,红色的地方你要改,是php8文件夹所在地址。 ```js #加载PHP LoadModule php_module 'D:\Program Files (x86)\php8\php8apache2_4.dll' #将PHP配置文件加载到Apache配置文件中,共同生效 PHPIniDir 'D:\Program Files (x86)\php8' #配置Apache分配工作给PHP模块,把PHP代码交给PHP处理 #即.php后缀名的文件 AddType application/x-httpd-php .php ``` 复制 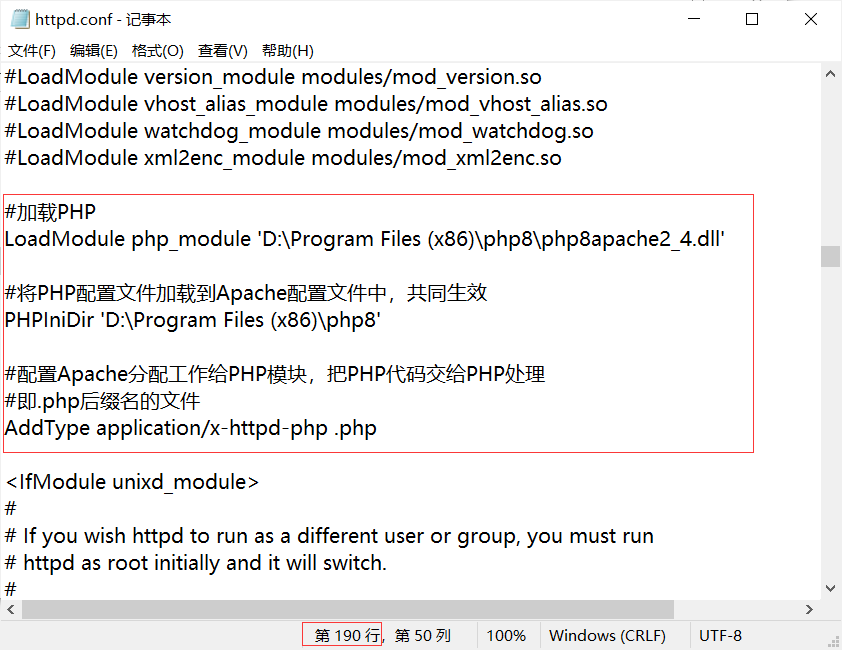 提醒:如果你安装PHP的时选错了版本,是找不到php8apache2_4.dll的。 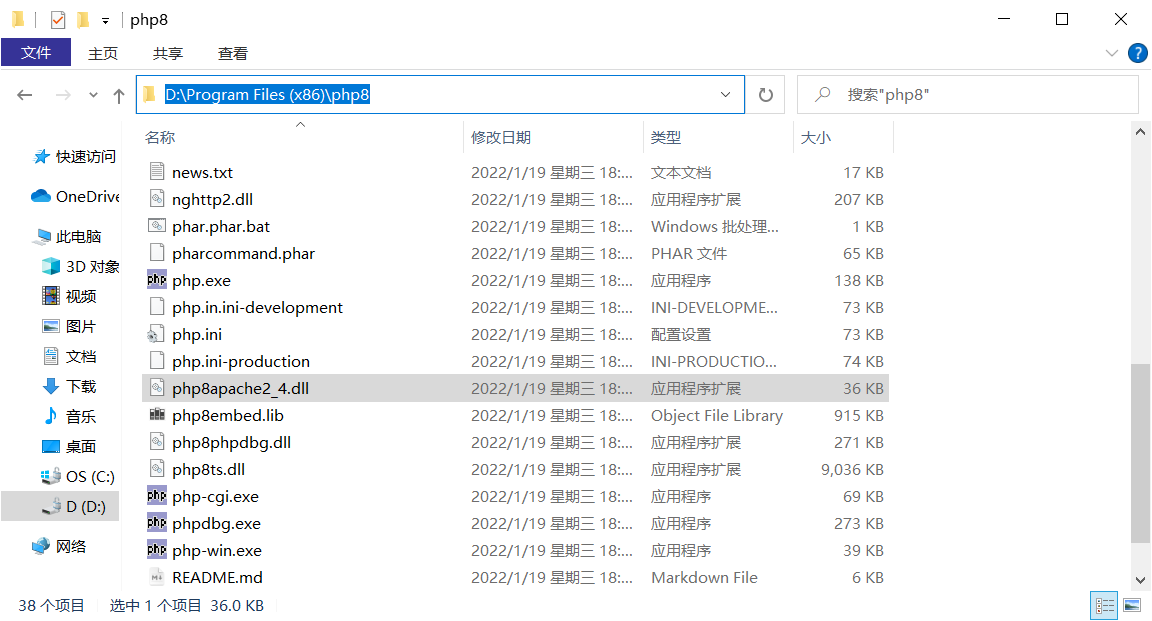 ### (2)**php.ini文件** 上述配置的php.ini文件默认是不存在的,是以development和production格式存在,需要格式化处理。 打开文件夹php8 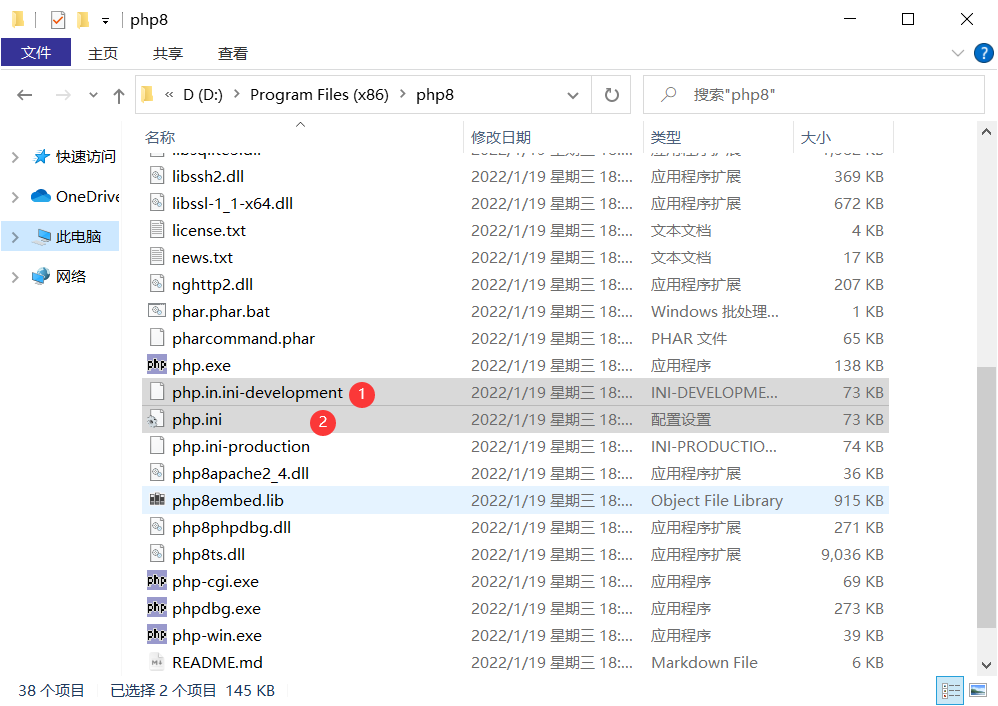 **①是已有的,②是需要的。** 操作:复制①为副本,把副本重命名为php.ini,注意,后缀改了。 ### (3)测试配置(可跳过) 打开服务**重启**Apache 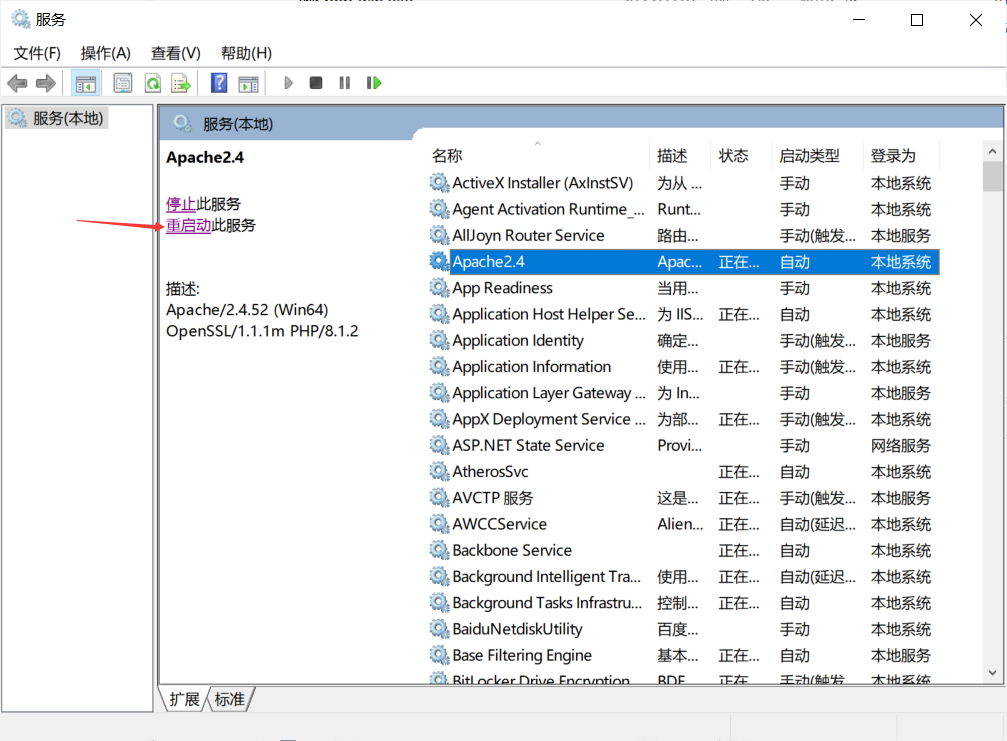 在蓝色位置输入cmd,打开命令行窗口。 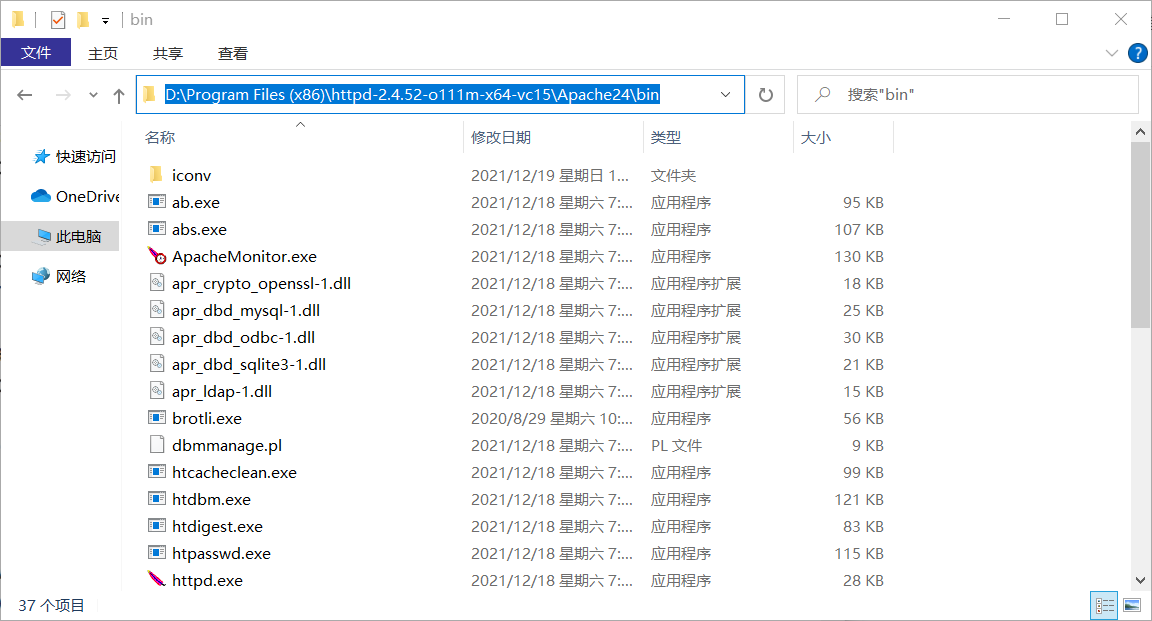 输入指令 ```js httpd -M ``` 复制 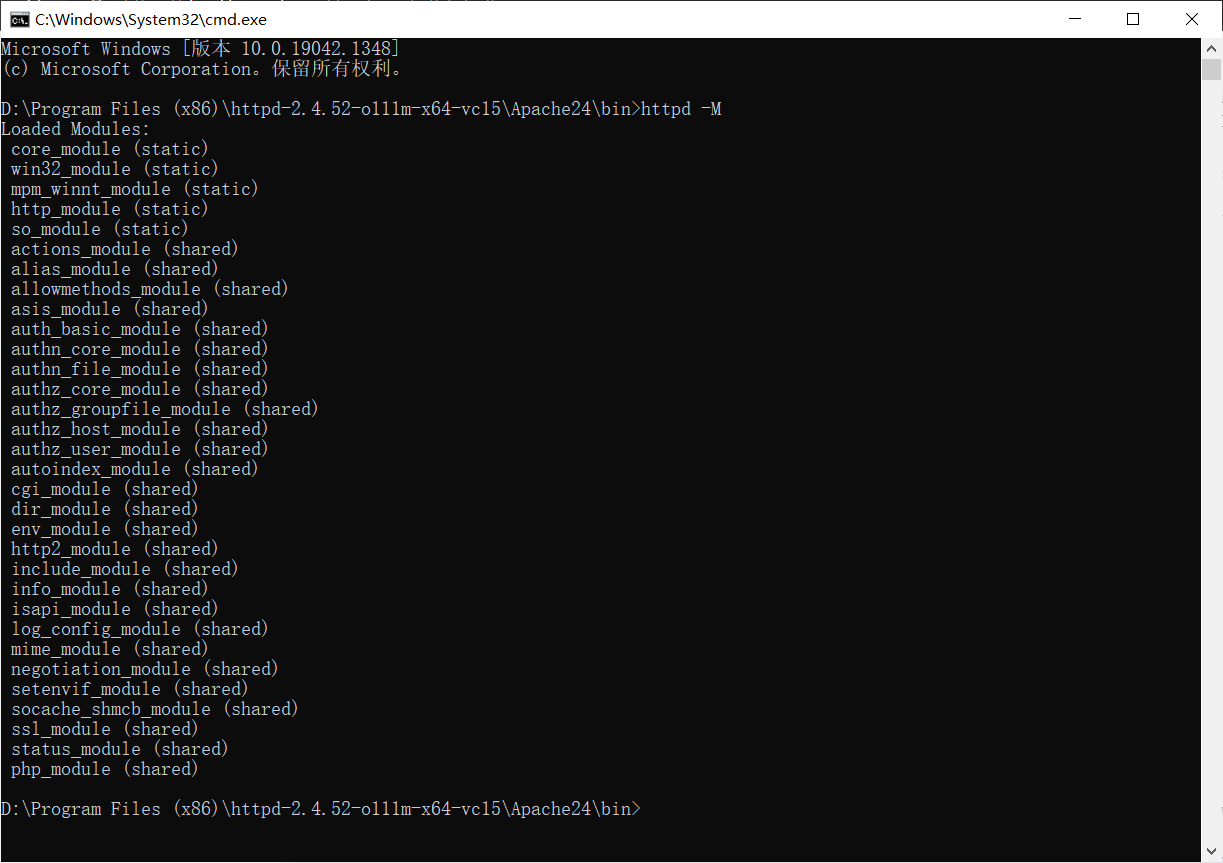 成功是这样 ### (4)测试 在Apache24\htdocs下新建记事本,命名为test.php,内容如下。 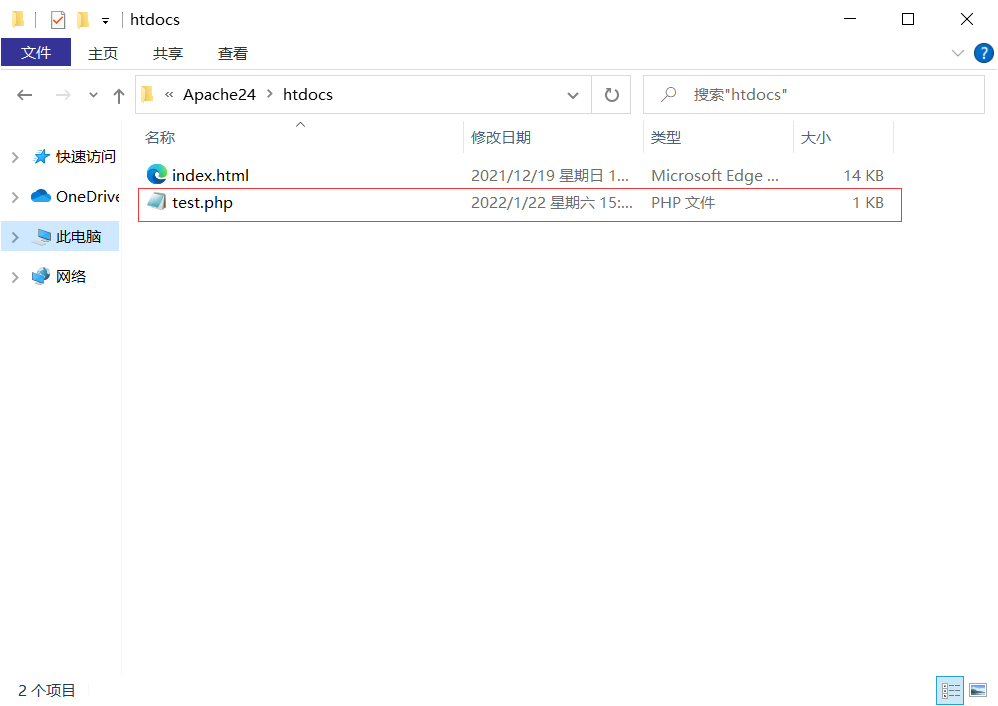 ```js <?php //test echo 'hello xx world'; ?> ``` 复制  在浏览器输入 ```js localhost/test.php #没有改端口 localhost:81/test.php #如果改了端口 ``` 复制  PHP配置成功 转载自[超详细Apache和PHP安装教程Windows篇(2022.1) - 腾讯云开发者社区-腾讯云 (tencent.com)](https://cloud.tencent.com/developer/article/1938414) 最后修改:2023 年 05 月 16 日 © 允许规范转载 打赏 赞赏作者 赞 如果觉得我的文章对你有用,请随意赞赏